Many people in the food blogging world have been blogging about homemade marshmallows. I am so totally going to jump onto this bandwagon. What you need to know:
- they are so much better than store bought!
- they take s'mores and hot chocolates to the nest level... yes it is possible
- make them, and people will think your some kind of magician.


- my kitchen is clean (because you are going to soon turn it into a serious mess)
- I have pre-measured all of my ingredients and set them out, ready to rock
- it is not ridiculously late in the evening... although this seems to be the only time I have to make them.

Pillows of sugary love!! THEY'RE SO SQUISHY
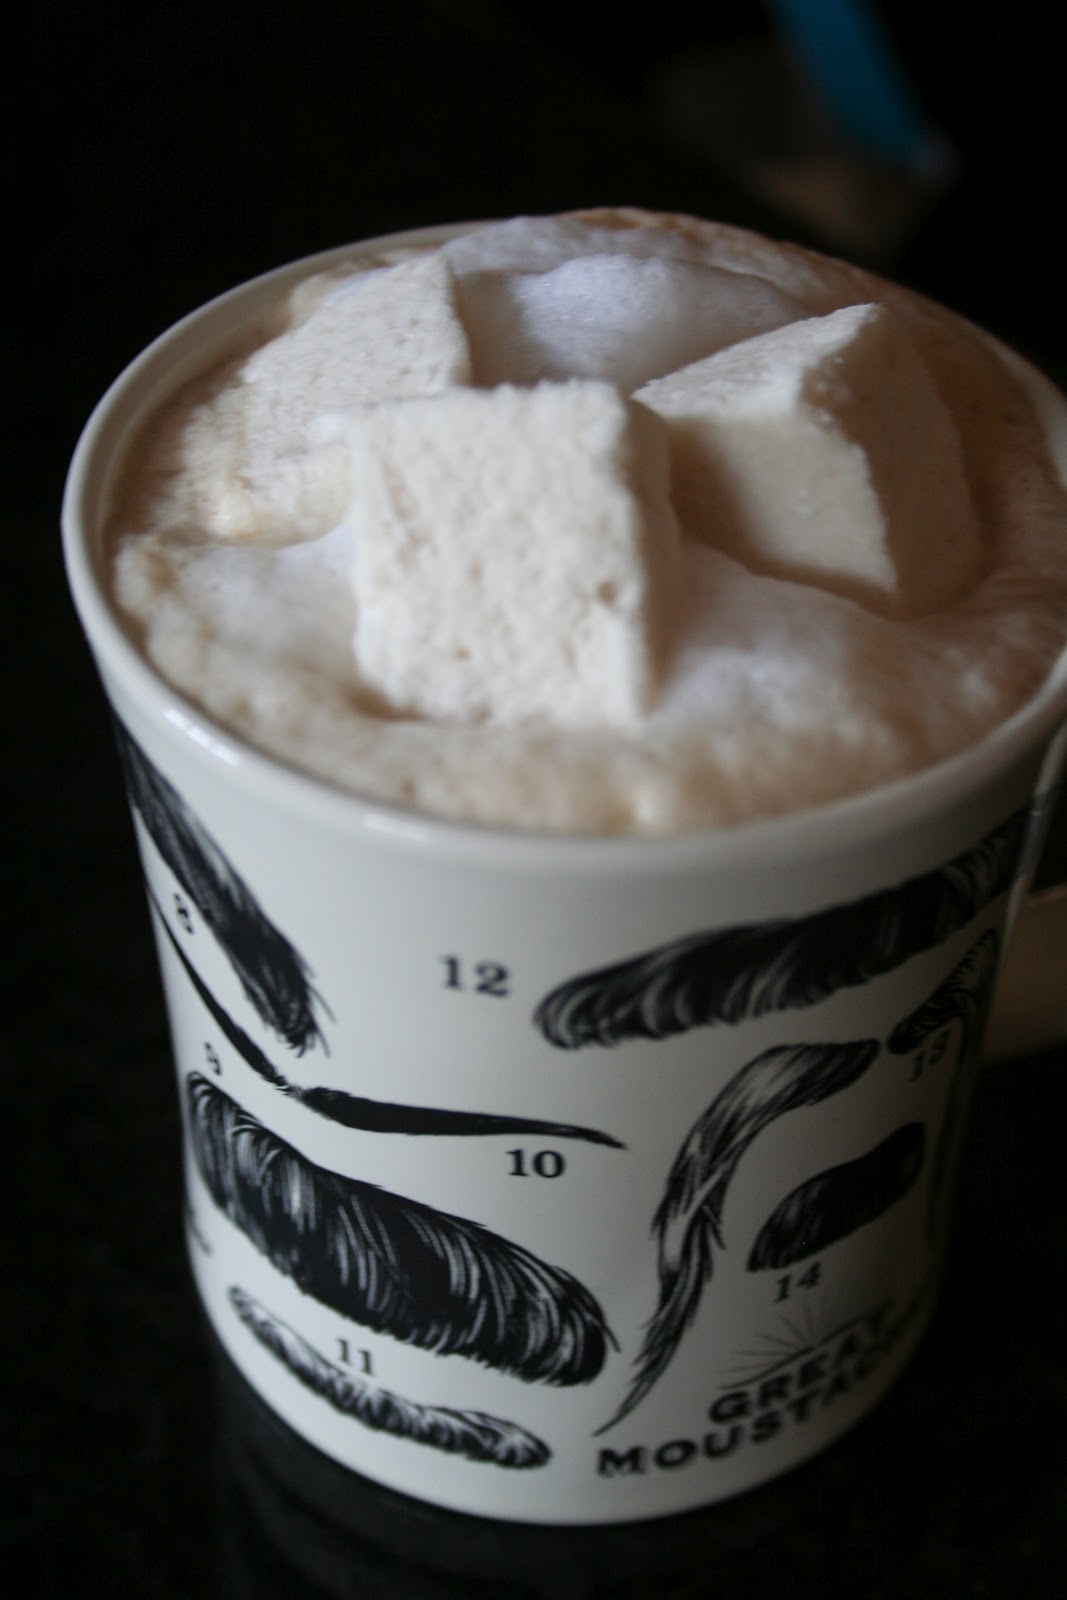

Here are just a couple examples of methods to enjoy: in hot chocolate, or roasted for s'mores... DIVINE!
Homemade Vanilla Marshmallows
Recipe originally from this book
- 4 1/2 tsp unflavoured powdered gelatin (I used Knox brand)
- 1/2 cup cold water
- 3/4 cup sugar
- 1/2 cup corn syrup, divided
- 1/4 cup water
- 1/8 tsp salt
- 2 tsp vanilla
- 1/2 cup Classic Coating*
*Recipe for Classic Coating follows below marshmallows*
Lightly coat an 8X8 inch pan with cooking spray.
In a small, microwave-safe bowl, stir together the gelatine and cold water and let soften for 5 minutes
In a medium saucepan, stir together the sugar, 1/4 cup of the corn syrup, water and salt. Boil over high heat, stirring occasionally until the syrup reaches 240F. MEANWHILE: pour the remaining 1/4 cup corn syrup into the bowl of a standing mixer fitted with the whisk attachment. Microwave the gelatin until completely melted, about 20 to 30 seconds. Pour it into the mixer with the corn syrup and set the mixer to low speed. Just keep mixing this until your syrup is ready to rock. (aka when your syrup has reached 240F)
Once your syrup has reached 240F (no hotter!) slowly pour it into the running mixer, pouring the hot syrup down the side of the bowl so that it does not splash and burn you. Ouch.
Increase your mixer speed to medium and beat for 5 minutes.
Increase the speed to medium high and beat for 5 more minutes.
Finally, beat on the highest setting for 1-2 minutes more. Slow the speed a bit to add in the vanilla. The marshmallow batter should be opaque, white and super fluffy, and about tripled in volume.
Pour into the prepared pan and use an offset spatula to smooth it into the corners of the pan. Sift the coating evenly and generously over the top. Leave your marshmallows to set in a cool and dry place for at least 6 hours.
Once the mallows have set, use a knife to loosen them from the edges of the pan. Plop out your marshmallow onto a coating dusted cutting board or work surface and dust with more coating.
Cut into desired shapes and dust exposed edges with coating.
TADAA! You totally just made homemade marshmallows. Be proud.
*Classic Coating Recipe:
- 1 1/2 cups powdered sugar
- 1 cup corn starch
Sift the two ingredients together. This coating keeps forever in an air-tight container in your cupboard. Keep it for all your marshmallow making needs.
Happy Marshmallow Making!
<3 Larissa
No comments:
Post a Comment